
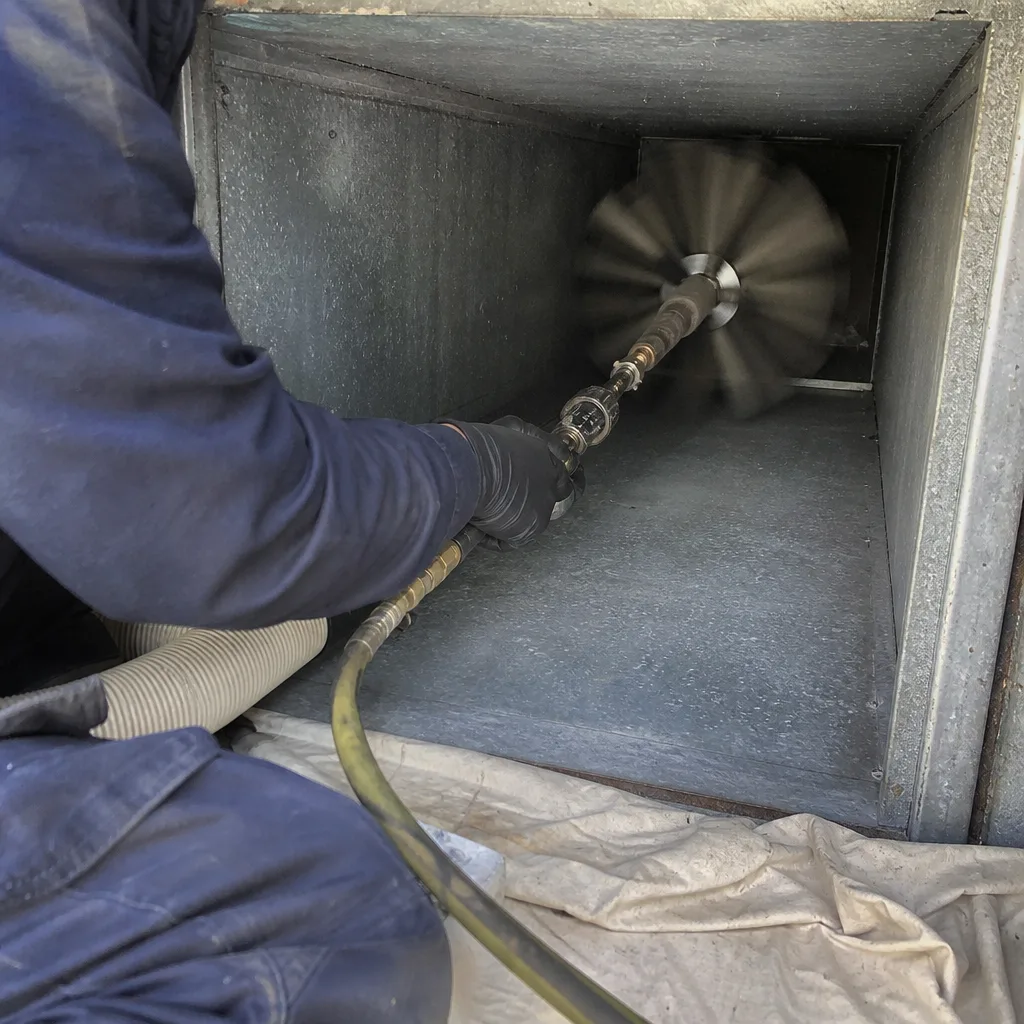
Last updated November 16, 2026
 Whole-home duct cleaning
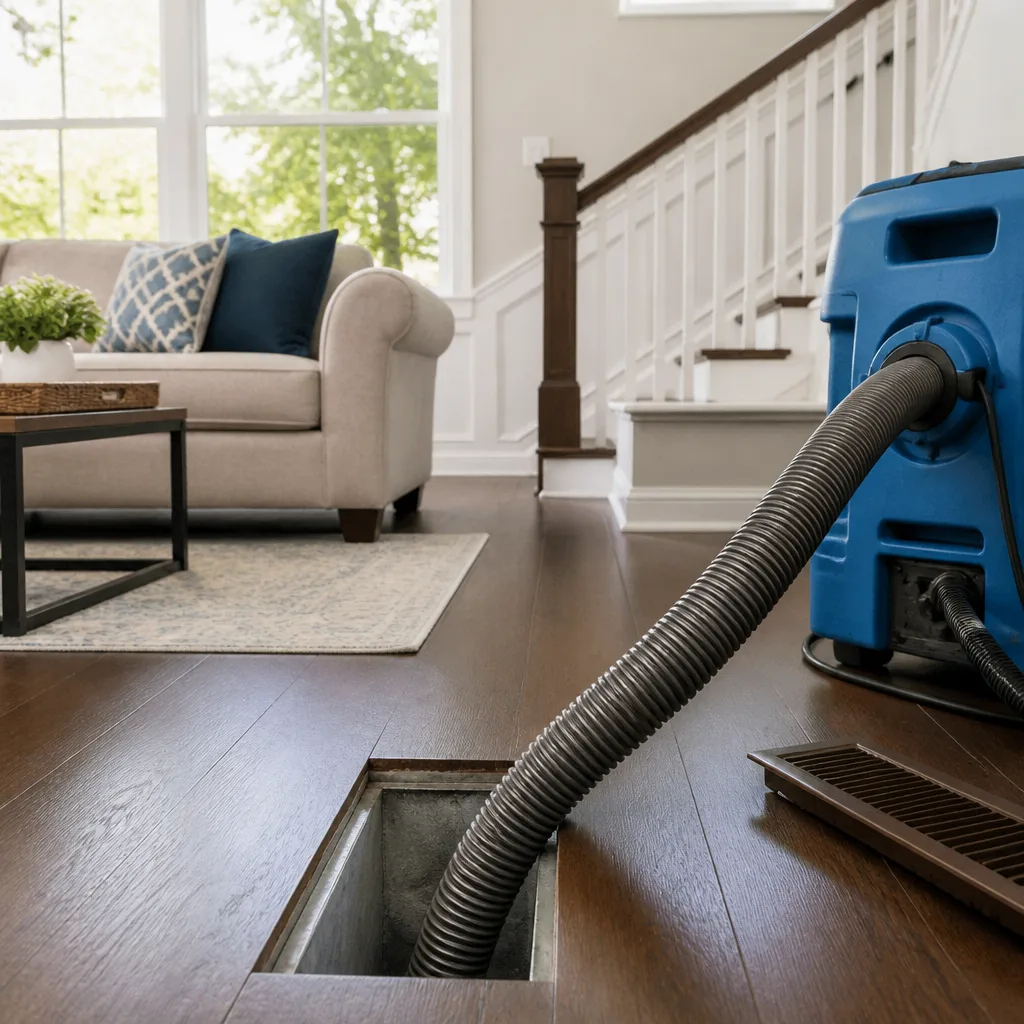
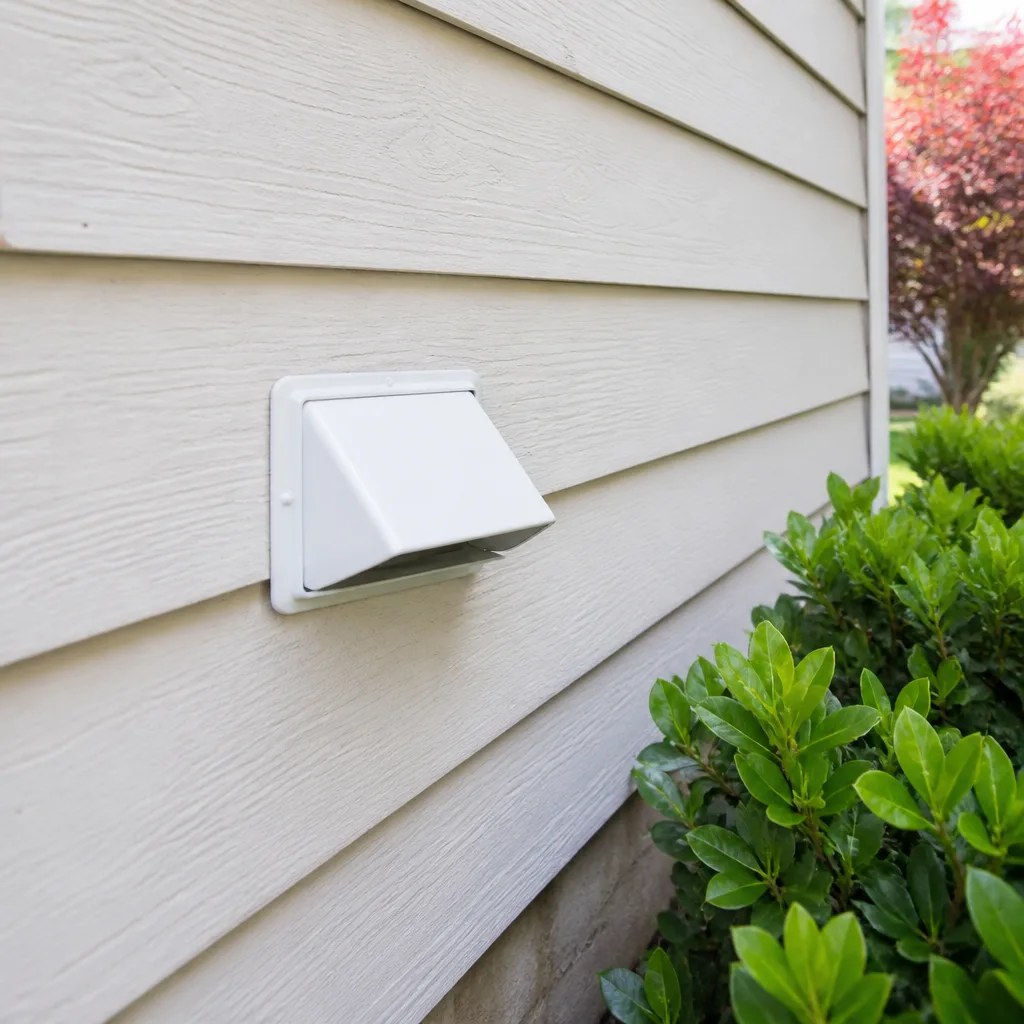 Dryer vent cleaning
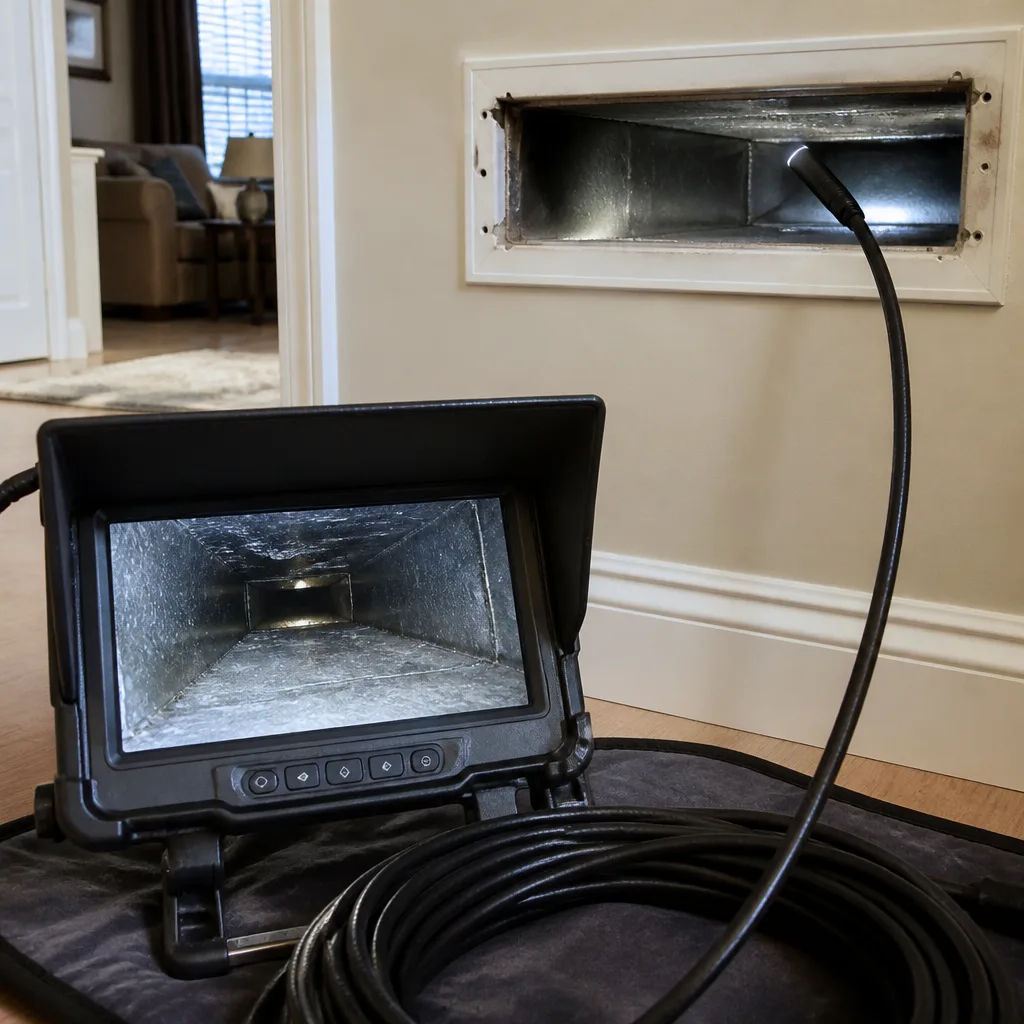 Camera inspection
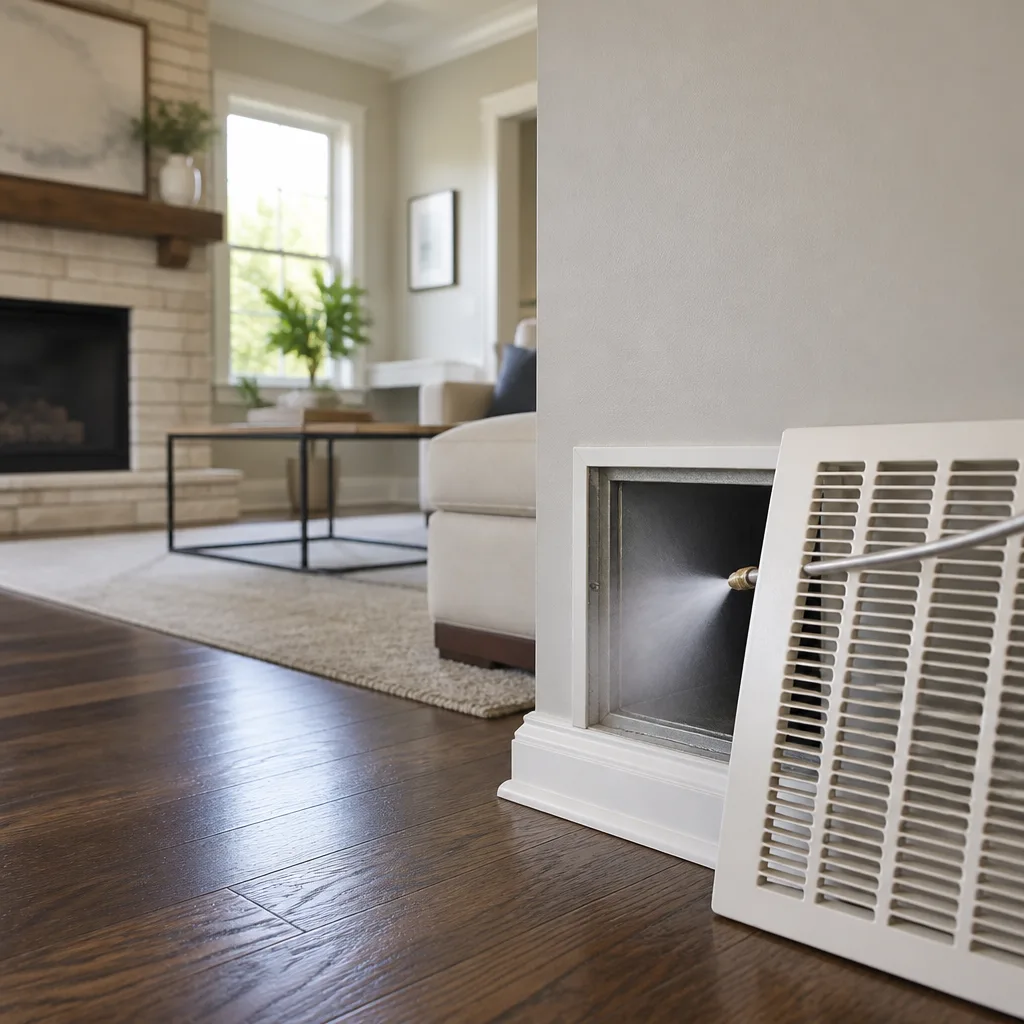 Sanitizing & deodorizing
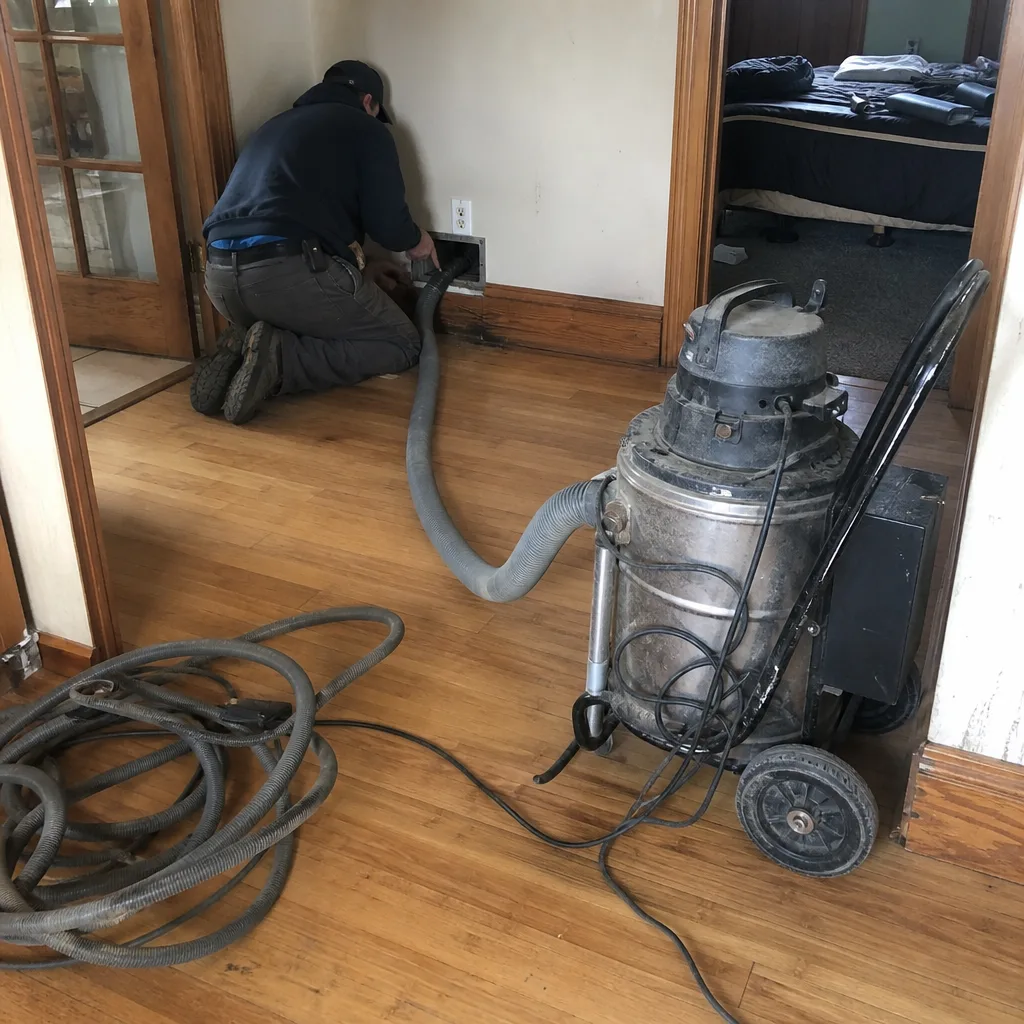
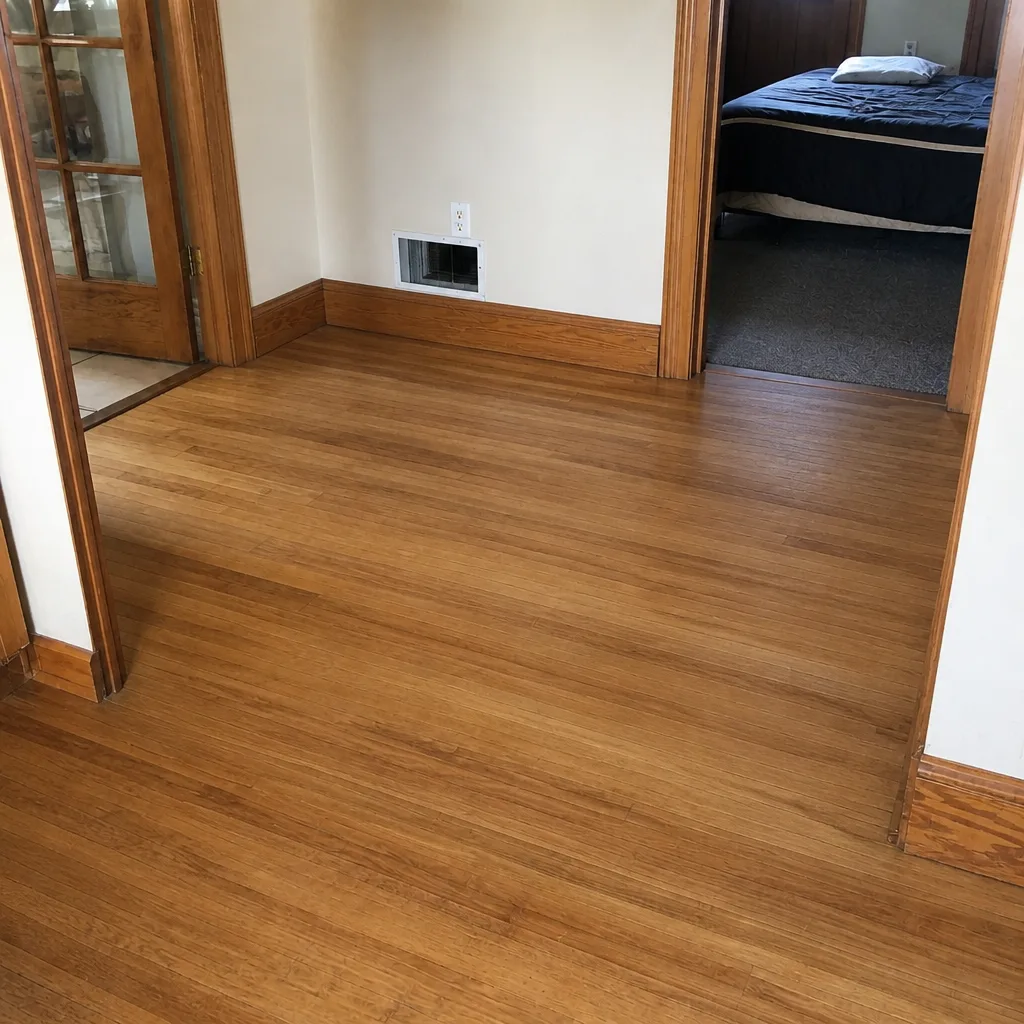
Whole-system duct and dryer vent check with before-and-after photos - you see exactly what came out of your vents
That "$99 whole-house special" is a bait ad - the real number appears once they are in your hallway, or the "clean" is a shop-vac at the register. We photograph the inside of your ducts before and after instead.
Air Duct Repair Maintenance Schedule: What to Do and When
Changing your filter on schedule while ignoring cracked mastic joints is like rotating your tires on a car with a bent frame. You’re maintaining the wrong thing, and the part that actually degrades your air quality never gets touched. Most homeowners in Providence treat duct care as a single event: call someone, get them cleaned, forget about it. In practice, duct maintenance runs on several different clocks at once, and each one has its own interval. This guide lays out a calendar you can follow in Providence, organized by what to check monthly, annually, and every few years, plus the trigger events that reset the whole schedule.
Quick Answer
A workable duct maintenance schedule has four layers: check filter load monthly, do a visual joint and seal inspection once a year, get professional contact cleaning every three to five years, and schedule an inspection immediately after any trigger event like a renovation, water intrusion, or rodent activity. In Providence, the smartest window for a professional cleaning is fall, before heating season, because the city’s humid summers give microbial growth a head start inside ductwork.
Styles & brands we work with
- Whole-home duct cleaning
- Dryer vent cleaning
- Camera inspection
- Sanitizing & deodorizing
Table of Contents
- Why a Layered Schedule Beats a Single Cleaning
- Monthly: What to Check in Ten Minutes
- Annually: The Visual Joint and Seal Inspection
- Every 3-5 Years: Professional Contact Cleaning
- Trigger Events That Reset the Schedule
- Providence Seasonal Factors: Why Fall Is the Smarter Window
- Duct Repair and Duct Cleaning: Why Sealing Before Cleaning Matters
- What a Post-Cleaning Inspection Should Document
- What You Can Do Yourself vs. What Needs Equipment
Why a Layered Schedule Beats a Single Cleaning
Duct systems fail in slow, unremarkable ways. A joint that was sealed tight five years ago dries out and opens a hairline gap. A flex run gets crimped during a basement reorganization. The filter still gets changed, the registers still blow air, and nothing looks wrong. The problem is that a cleaning scheduled by habit does nothing about a leak that keeps pulling attic or crawlspace air into the supply side.
Think of the system as having three maintenance clocks running at different speeds:
- Filter load changes fastest. It’s driven by how much dust your household generates and how hard the blower works. That’s a monthly question.
- Seal integrity changes slowly but steadily. Mastic cracks, foil tape lifts, and connections loosen. That’s an annual look.
- Accumulated debris builds between professional cleanings. How often depends on your home, not the calendar. That’s a three-to-five-year window for most households.
Conflating these is why people over-spend on unnecessary cleanings while their actual air quality problem, a leaking return or a disconnected flex run, goes unaddressed for years. The Duct Cleaning Providence approach treats cleaning and repair as the same conversation, because in most homes they are.
One more thing worth saying up front: a schedule only helps if you know your system’s baseline. If you’ve never had a documented inspection, you don’t know whether you’re starting from a clean slate or from fifteen years of buildup. That first inspection is the foundation for every comparison that follows.
Monthly: What to Check in Ten Minutes
Monthly maintenance is almost entirely about filter load. It’s the fastest-moving part of the system and the easiest to get wrong, because homeowners either forget it or assume a filter lasts longer than it does.
- Pull the filter and hold it up to a light source. If you can’t see light through it, it needs changing. High-MERV filters load faster because they trap more.
- Note the filter’s MERV rating and keep it consistent. Switching ratings back and forth changes resistance on the blower and confuses your baseline for future comparison.
- Check the filter slot for bypass. Air sneaking around the edge of a loose filter means dust is getting past it. A poorly fitting filter is nearly as bad as no filter.
- Wipe down visible registers with a damp cloth. Register dust is the most visible sign of system debris and one of the genuinely DIY-appropriate tasks.
- Listen at each supply register while the system runs. A whistling register can mean a restriction; a weak register can mean a leaky or disconnected branch.
That last check is the one most homeowners skip, and it’s the most useful. A register that’s gone noticeably quieter than the others is often the first sign of a duct problem, months before it shows up as an air quality complaint. If your filtration setup is older or under-spec’d, this is also the moment to think about whether a Honeywell or Aprilaire filtration upgrade makes sense, since a better filter holder eliminates a lot of bypass issues at the source.
Households with pets, smokers, or anyone with asthma should treat the monthly filter check as a firm routine rather than a rough guideline. In those homes, filter load is the single biggest variable in indoor air quality, and it moves faster than you’d expect.
Annually: The Visual Joint and Seal Inspection
Once a year, before heating season, walk the visible portion of your duct system and inspect every joint, connection, and seal you can reach. This is not a cleaning task. It’s a structural check, and it’s the step most homeowners either don’t do or don’t know to do.
Here’s what to look for:
- Cracked or peeling mastic at the joints between duct sections. Mastic dries out and cracks over time, and a hairline crack is enough to leak.
- Lifted or curled foil tape. Tape that’s lost adhesion isn’t sealing anything anymore. In the humid months, adhesive-backed tape often lifts first.
- Disconnected or sagging flex runs in the attic or basement. Flex duct that’s been stepped on or crushed loses its shape and its capacity.
- Rust stains or water lines on duct surfaces, which point to a moisture problem upstream.
- Dust streaks around a joint, which is essentially the leak marking itself.
Write it down. Note the location of each joint you checked and its condition. That record becomes the reference for next year’s inspection, and it’s the single most useful thing you can have on hand when a technician comes out. Without a baseline, every recommendation sounds equally urgent.
In Providence, the annual inspection is best done in the early fall, before the heating system starts running hard. Leaks that were tolerable in the shoulder months become obvious once the furnace is pushing warm air through an undersized or leaky branch. If your system is showing more than a couple of failing joints, it’s worth having it looked at properly, because air duct cleaning without sealing first can actually make performance worse, which we’ll get to below.
Every 3-5 Years: Professional Contact Cleaning
Professional contact cleaning is the interval most people think of as “duct cleaning,” but it’s a distinct layer of the schedule. For most Providence households, every three to five years is the right window. Households with pets, allergy sufferers, recent renovation dust, or heavy use should sit at the shorter end of that range.
What separates a real contact cleaning from a surface wipe-down:
The technician should be using professional-grade equipment, not consumer shortcuts. Rotobrush contact-cleaning systems scrub the duct interior with a rotating brush while a vacuum source pulls debris away, which is a fundamentally different process from blowing air around with a shop vac.
A Nikro negative-pressure machine keeps the duct system under vacuum during the cleaning, so debris dislodged from one section doesn’t blow back into the living space. That’s the difference between a cleaning that improves air quality and a cleaning that temporarily makes it worse.
When the job warrants it, Abatement Technologies HEPA filtration provides containment, which matters most in homes with allergy sufferers or in the wake of a renovation when fine particulate is still settling.
What you should ask before booking any cleaning:
- What equipment is used, and will the system be under negative pressure during the job?
- How long does the process take for your home’s size and duct configuration?
- Is a visual inspection included, and will you get before-and-after documentation?
- Are damaged or leaking joints going to be repaired, or cleaned and left?
- Is dryer vent cleaning available as part of the same visit, since it addresses a separate fire hazard?
That last question matters more than people realize. Dryer vent lint is a leading cause of house fires, and most duct-cleaning vendors don’t touch it. dryer vent cleaning is a safety service, not an add-on, and it should be on the same maintenance rhythm as the main duct cleaning.
Trigger Events That Reset the Schedule
Some events override the calendar entirely. If any of the following happens in your home, schedule an inspection regardless of where you are in the three-to-five-year cycle.
- A renovation or remodeling project. Drywall dust, sawdust, and construction debris migrate into the return system almost immediately. A renovation resets the cleaning clock to zero.
- Water intrusion or flooding. Moisture in ductwork is a serious problem that worsens quickly. Any water event should trigger an inspection of the affected runs.
- Rodent or pest activity. Pests in the duct system deposit material that no household should be breathing. This is an immediate-inspection scenario, not a wait-and-see.
- A new HVAC installation or major repair. New equipment changes air volume and static pressure, which can expose existing duct leaks that were previously marginal.
- A new baby, new pet, or new allergy diagnosis in the household. Changing sensitivity changes the priority, and the schedule should follow.
- Persistent odors or a noticeable drop in airflow. Neither is normal, and both point to something the annual inspection didn’t catch.
In our experience, the renovation trigger is the one homeowners most consistently miss. A kitchen remodel that finishes in October leaves fine particulate in the return system well into the winter. Contact cleaning in the fall, before the system runs constantly, clears it out before it distributes through the whole house. Providence households renovating old homes deal with this frequently, because the city’s housing stock means renovations tend to be substantial rather than cosmetic.
One useful habit: any time a contractor cuts into a wall or ceiling, note the date and plan a duct inspection for once the project wraps. It’s a small piece of bookkeeping that saves a lot of guesswork later.
Providence Seasonal Factors: Why Fall Is the Smarter Window
Spring cleaning is a cultural habit, but for ductwork in Providence, fall is the better window. The reasoning is straightforward. Providence summers run humid, and humidity inside ductwork creates conditions that favor microbial growth, especially in basement and attic runs where the ducts pass through unconditioned space.
The sequence matters:
The humid months give microbial growth a head start inside the system. By late summer, that growth has had a full season of warmth and moisture. Cleaning in September, before the heating system starts running continuously, means the whole system is clean and dry going into the season when it’ll be working hardest and circulating the most air.
Cleaning in spring means the system sits through a humid summer immediately afterward, which is the opposite of what you want. The build-up returns before the system has done anything useful.
There are two more Providence-specific factors worth noting:
- Winter heating load. Once the heating system runs consistently, any dust or debris in the ducts gets distributed through the entire home. Cleaning before that happens is the difference between a clean season and a dusty one.
- Old housing stock. Much of Providence’s housing is older, and older duct systems have more joints, more flex runs, and more opportunities for leaks than modern installations. Those leaks pull in air from wherever the ducts run, so a clean system with a leaky return doesn’t stay clean for long.
The practical upshot is a schedule that reads: annual seal inspection and professional cleaning both in the early fall, filter checks monthly year-round, and trigger events handled whenever they occur. If you’re due for cleaning, the fall window in Providence is worth protecting in your calendar. We’d rather have you book a cleaning at the right time than at a convenient one.
Dryer vent cleaning doesn’t have the same seasonal logic, since it’s driven by lint accumulation rather than climate. It should simply be scheduled alongside the duct cleaning whenever that happens.
Duct Repair and Duct Cleaning: Why Sealing Before Cleaning Matters
This is the part of the schedule most homeowners and many contractors get backward. Cleaning and repair interact, and the order matters. In short: find and fix the leaks first, then clean.
Here’s why. A leaking duct system is a sieve. If you clean a duct system with cracked joints and disconnected flex runs, the negative-pressure cleaning pulls air, and whatever dust is in that air, through the leaks and into the system. The ducts come out dirtier than they started in the affected sections, and every future cleaning faces the same problem.
The correct sequence looks like this:
- Inspect the system and identify damaged joints, disconnected runs, and failing seals. This happens before anything is cleaned.
- Repair the leaks. Re-mastic failed joints, re-tape lifted connections, and reattach disconnected flex runs.
- Verify the repairs. A quick check that the system holds pressure properly and air is reaching the registers it should.
- Then clean. With a sealed system, contact cleaning works as intended, and the negative pressure in the ductwork holds.
- Document everything. Which joints were repaired, what was sealed, and what condition the system entered cleaning in.
Reversing the order wastes money and effort. Cleaning first then sealing leaves debris in the system that got pulled in through leaks during cleaning, and the sealing you paid for is technically in place but the ducts are still dirty. There’s also a performance cost: leaky ducts lose a meaningful share of the air the central system produces, and a repair that closes those leaks before cleaning lets the system work with the air volume it was designed for.
In Providence’s older homes, we often find flex runs in the attic or basement that have been crushed or disconnected for years. Those homeowners have effectively been heating the attic rather than the rooms, and no amount of cleaning fixes that until the run is reconnected. If your system falls into that category, Providence homeowners should know the repair and the cleaning are best handled as one job, not two separate visits.
That’s the logic behind treating duct repair as part of the maintenance schedule rather than a separate service you call in only when something fails. Sealing is the annual inspection’s job, and cleaning is the follow-up once the seals are good.
What a Post-Cleaning Inspection Should Document
Here’s the question almost nobody asks, and it’s the one that separates a real maintenance schedule from a one-off cleaning: how do you know the work was done?
A proper post-cleaning inspection should give you more than a verbal “all done.” Request the following:
- Before-and-after photos of your own ducts, not stock images. Interior shots of the supply and return runs, with clear labels for the section shown. These are the only way to verify a cleaning actually happened.
- A written summary of what was cleaned, section by section, and what equipment was used.
- Documentation of any repairs performed, including which joints were re-sealed or which runs were reconnected, and what material was used.
- A baseline record of the system’s condition on the date of service. This is the reference for years to come. Next time somebody tells you your ducts “need cleaning,” you’ll have a documented baseline to compare against.
- A list of any issues that were found but not addressed, such as a small leak that wasn’t bad enough to fix during the visit or a filtration upgrade recommendation worth planning.
The baseline document is the most valuable part. It turns future recommendations into something you can verify instead of something you have to take on faith. If a contractor says your ducts are worse than they were three years ago, a baseline document answers the question immediately.
Surface protection matters too. Guardsman protective products on hand during service signal that the crew is thinking about your floors, furniture, and finishes, not just the ductwork. It’s a small detail that tells you something about how the whole job is run.
The same documentation logic applies to dryer vent cleaning. Ask for confirmation that the vent was cleaned the full length, not just the accessible portion near the dryer, because partial cleaning misses exactly the lint that’s most likely to ignite.
What You Can Do Yourself vs. What Needs Equipment
A good maintenance schedule assigns each task to whoever can do it correctly. Some parts of duct care belong with the homeowner, and some don’t, and it’s worth being honest about the line.
Genuinely DIY-appropriate tasks:
- Changing filters on the recommended interval. This is the single highest-return task on the list.
- Wiping down visible registers and grilles with a damp cloth.
- Checking visible flex duct runs for crushing, sagging, or disconnection.
- Re-taping a visibly lifted foil tape joint on an accessible run, if you’re comfortable on a step ladder.
- Recording the filter change dates and joint inspection results in a notebook, which is the easiest maintenance habit there is.
Tasks that require equipment and shouldn’t be DIY:
- Contact cleaning of the duct interior. A shop vac doesn’t reach through duct runs, and the kind of brush-and-vacuum process a Rotobrush system provides isn’t replicable with household tools.
- Establishing and maintaining negative pressure during cleaning. A Nikro negative-pressure unit is doing work that matters, holding the duct system under vacuum so debris doesn’t distribute into the home.
- HEPA containment during the job, which Abatement Technologies equipment provides and which matters most for households with allergy concerns or post-renovation conditions.
- Repair of sizable leaks or disconnected runs beyond the easiest accessible joints. This is work where a failed seal can make performance worse, and where getting it wrong is easy.
- Dryer vent cleaning beyond the easily reachable first section. The lint that causes fires is usually deeper in the run, in places a household vacuum can’t get to.
One more point worth making. Duct cleaning is not a job to approach with improvised tools. Consumer-grade equipment doesn’t reach through a full duct run, and it doesn’t create the pressure differential that separates real cleaning from surface wiping. If you’re going to do it, have it done with the right equipment. That’s the standard we hold air duct cleaning to in our own work, and it’s the standard worth asking about when anyone else is doing the job.
Common Mistakes to Avoid
- Cleaning before sealing. Cleaning a leaky system pulls debris in through the leaks. The repair has to come first, or the cleaning doesn’t achieve anything.
- Treating the cleaning interval as fixed. Three to five years is the baseline, but a renovation, water event, or pest issue resets it. Ignoring triggers means breathing whatever’s in the system until the next scheduled cleaning.
- Skipping the annual joint inspection. Most duct problems announce themselves quietly, with a small crack or a dust streak. The annual inspection is what catches them before they turn into a big job.
- Assuming a spring cleaning is the right window. In Providence, cleaning in spring means the humid summer runs immediately after. Fall, before heating season, is the smarter choice for air quality through the winter.
- Skipping dryer vent cleaning. It’s on a different system but on the same schedule, and it addresses a documented fire hazard. It’s not optional maintenance.
- Accepting a verbal “all done” without documentation. Before-and-after photos of your own ducts are the only way to know the work was done. Ask for them before you book.
- Getting talked into a cleaning without any inspection. A contractor who doesn’t look at your system before recommending a cleaning doesn’t know what your system needs. Inspection comes first, always.
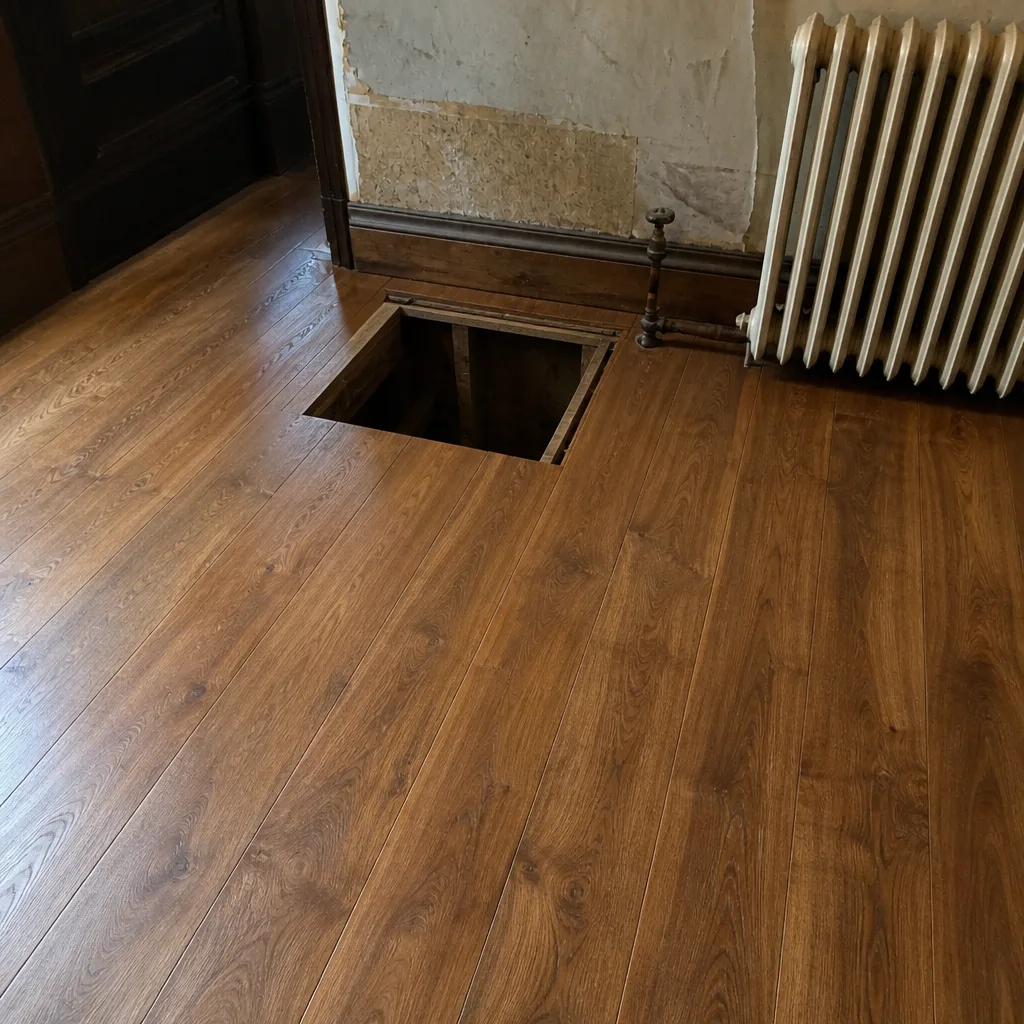
See the difference
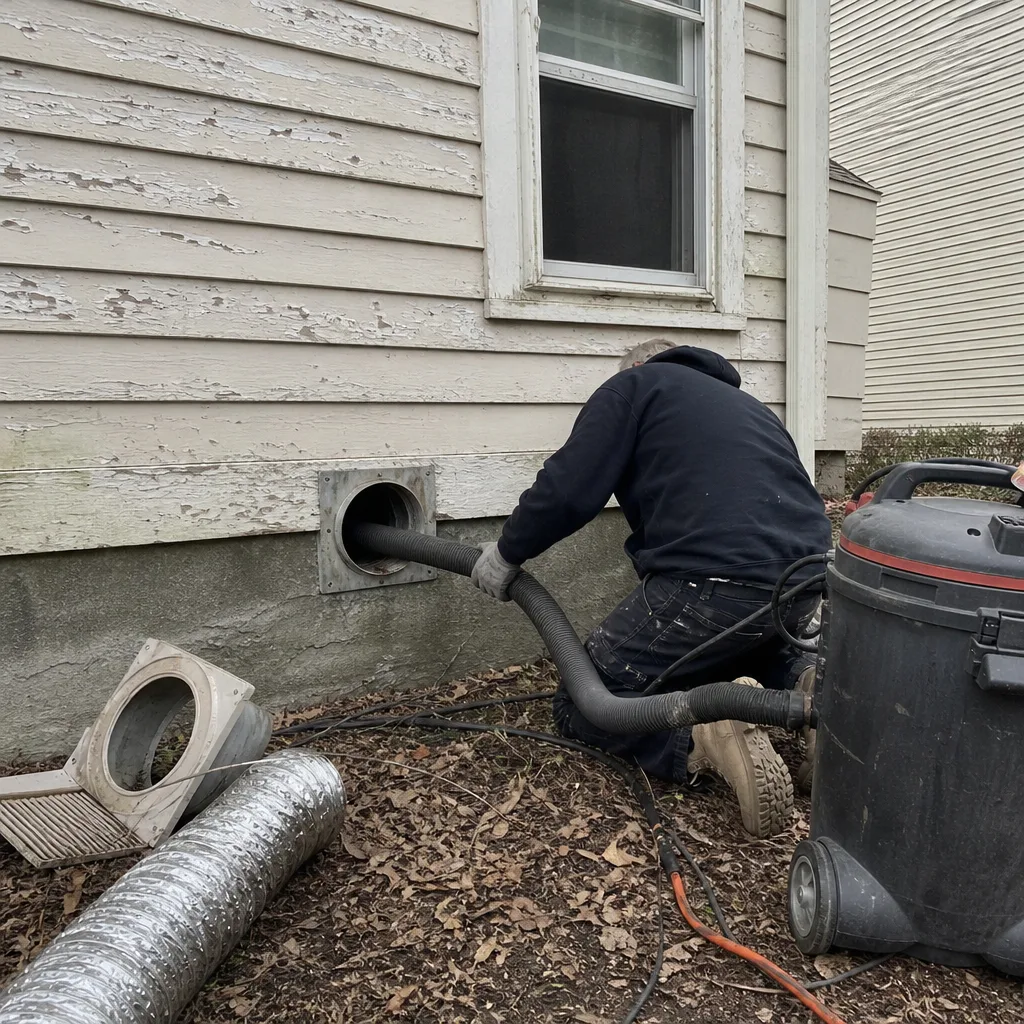 Before
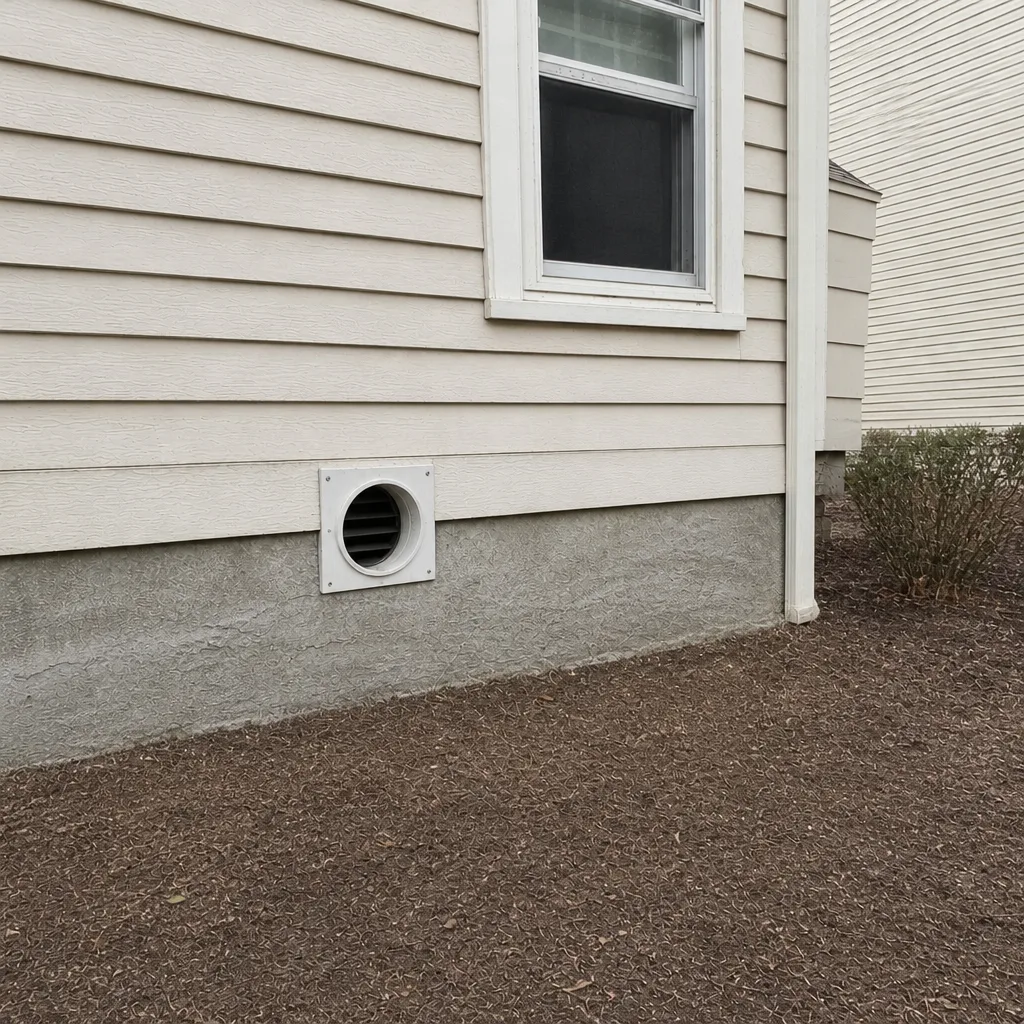 After
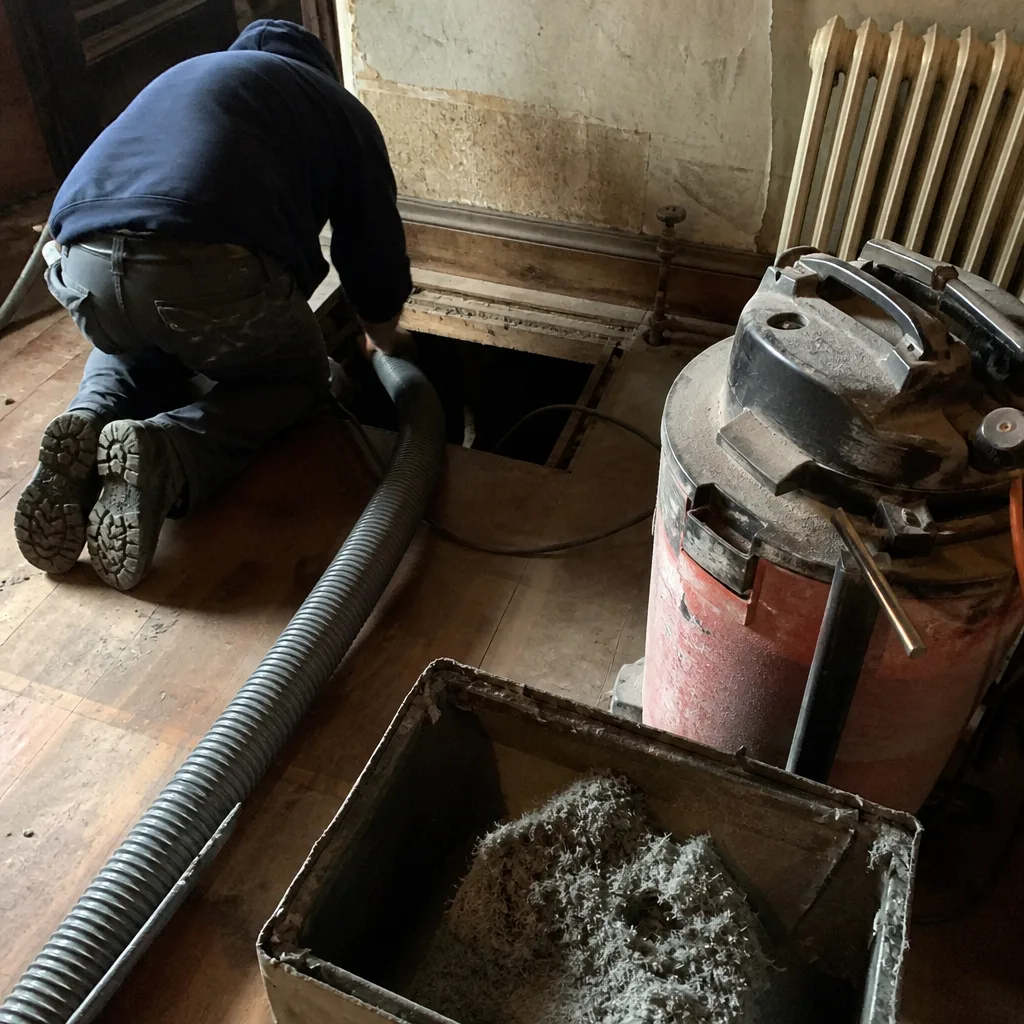 Before
 After
 Before
 After
When to Call a Professional
Some maintenance is DIY-appropriate, and some isn’t. Call a professional when:
- You’ve completed a renovation or had any water intrusion in the home.
- You’ve noticed a register that’s gone noticeably weaker than the others, or a persistent smell from the vents.
- You haven’t had a documented inspection in years and don’t know your system’s baseline.
- You’re due on the three-to-five-year cleaning cycle, or your annual inspection turned up more than one failing joint.
- Your dryer vent hasn’t been cleaned in longer than you can remember.
Duct Cleaning Providence offers free estimates in Providence. The team works with professional-grade equipment including Rotobrush contact-cleaning systems and Nikro negative-pressure units, can repair damaged ductwork as well as clean it, and can recommend filtration solutions from Honeywell and Aprilaire when a better filter setup makes sense for your home. Our technicians have up to 13 years of experience. We find what’s wrong and fix it on the same visit. Call (844) 542-8739 for a free estimate.
Frequently Asked Questions
For most Providence households, professional contact cleaning every three to five years is the right interval. Households with pets, allergy sufferers, or recent renovation work should lean toward the shorter end of that range, and any trigger event (renovation, water intrusion, pest activity) should prompt an inspection regardless of where you are in the cycle. Call (844) 542-8739 for an exact quote. Estimates are free.
Fall is the better window in Providence. The city’s humid summers give microbial growth a head start inside ductwork, and cleaning before the heating system runs consistently means the whole system is clean and dry going into the season when it circulates the most air. Cleaning in spring sends the system through a humid summer immediately afterward, which undoes much of the benefit.
Repair before cleaning, always. Cleaning a leaky system with negative pressure pulls air and debris in through the cracks and disconnected joints, which can leave the ducts dirtier than they were to start. Sealing first means the cleaning actually works, and the system runs with the air volume it was designed for once the leaks are closed.
Pricing in Providence depends on the size of the home, the length and configuration of the duct runs, how much repair work is needed, and whether dryer vent cleaning is included. We set one flat price per system based on a written estimate agreed before work starts, rather than per-vent pricing that can grow unpredictably. Call (844) 542-8739 for an exact quote. Estimates are free.
Inexpensive quotes are usually cheap because the work isn’t equivalent. A low quote often reflects consumer-grade equipment, no negative-pressure setup, no repair work, and no documentation, which means the ducts are probably still dirty when the technician leaves. Ask any contractor what equipment they use, whether the system runs under negative pressure, and whether you’ll get before-and-after photos of your own ducts. Those three questions separate real cleanings from surface wipes. Call (844) 542-8739 for an exact quote. Estimates are free.
Before-and-after photos of your own ducts are the only reliable proof. Ask for labeled interior shots of the supply and return runs, along with a written summary of what was cleaned and any repairs performed. A baseline record of your system’s condition on the service date is useful for every future comparison. If a contractor can’t provide those, that’s your answer. Call (844) 542-8739 for an exact quote. Estimates are free.
The Bottom Line
Duct maintenance is a layered schedule, not a single event. Check your filter monthly. Inspect joints and seals annually, in the early fall, before heating season. Get professional contact cleaning every three to five years, and reset that clock when a renovation, water event, or pest issue changes the equation. Repair before cleaning, always, and ask for documentation so you have a baseline. In Providence, the humid summers make fall the smarter cleaning window, and the city’s older housing stock means seal integrity deserves more attention than it usually gets. Change the filter on time, but don’t ignore the cracked joints. Both have to be there for the system to work.
Call (844) 542-8739 for a free estimate. We answer 24/7. Fast dispatch from 7am to 7pm, Sunday through Friday, closed Saturday.
Written by the team at Duct Cleaning Providence.