
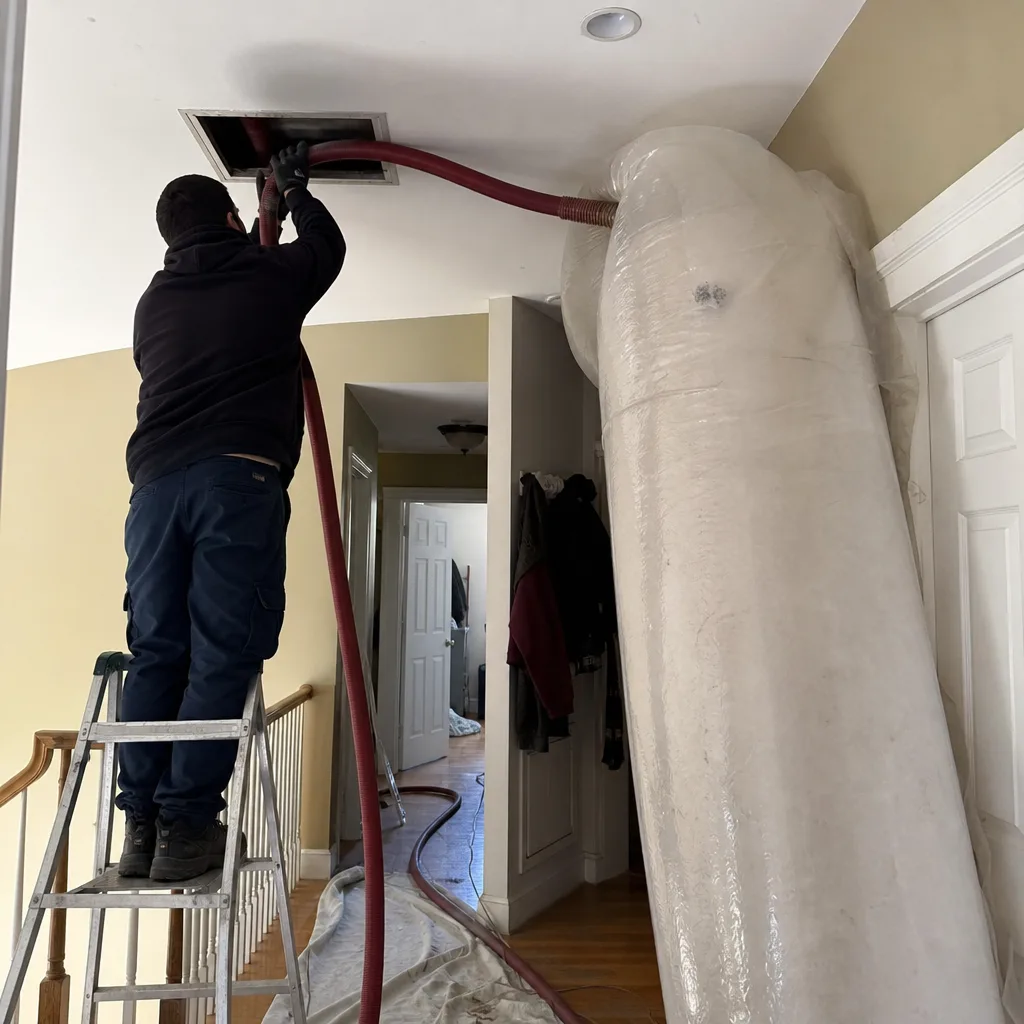
Last updated November 16, 2026
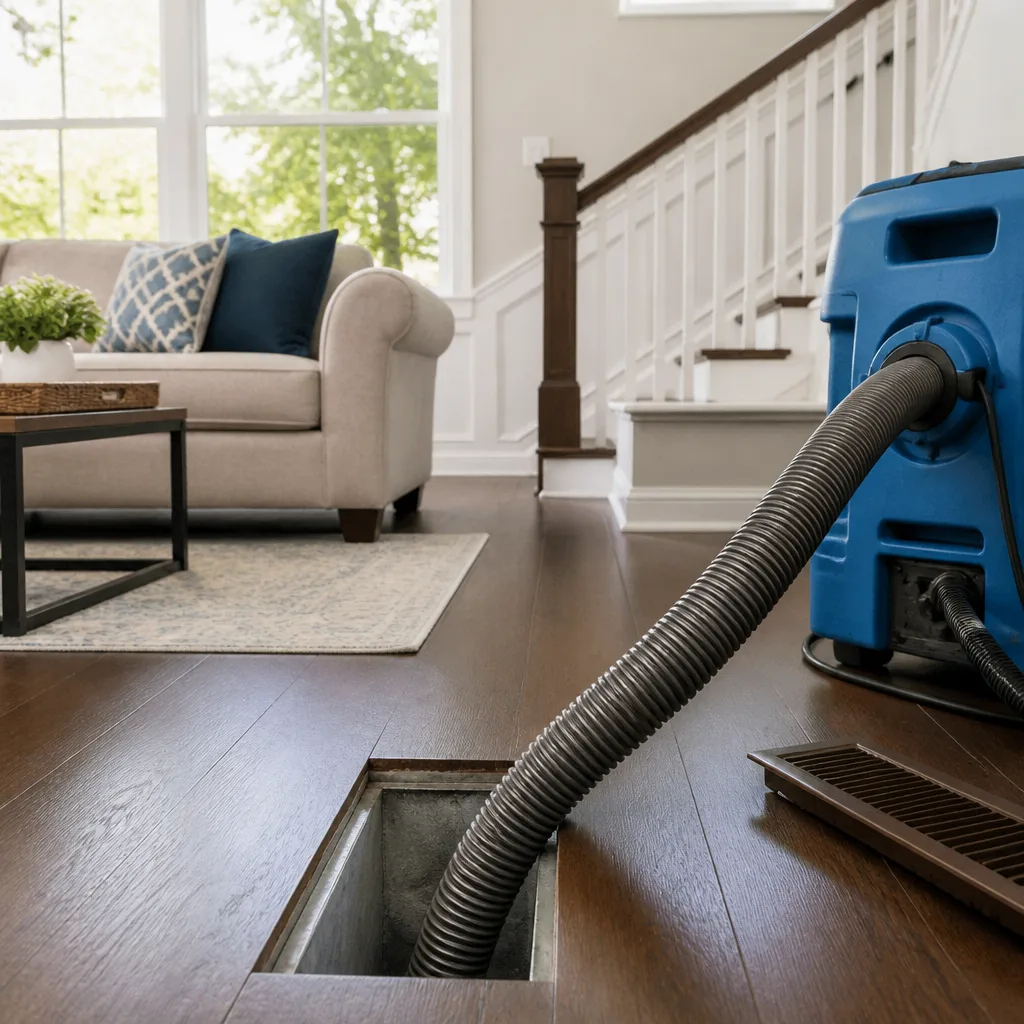 Whole-home duct cleaning
 Dryer vent cleaning
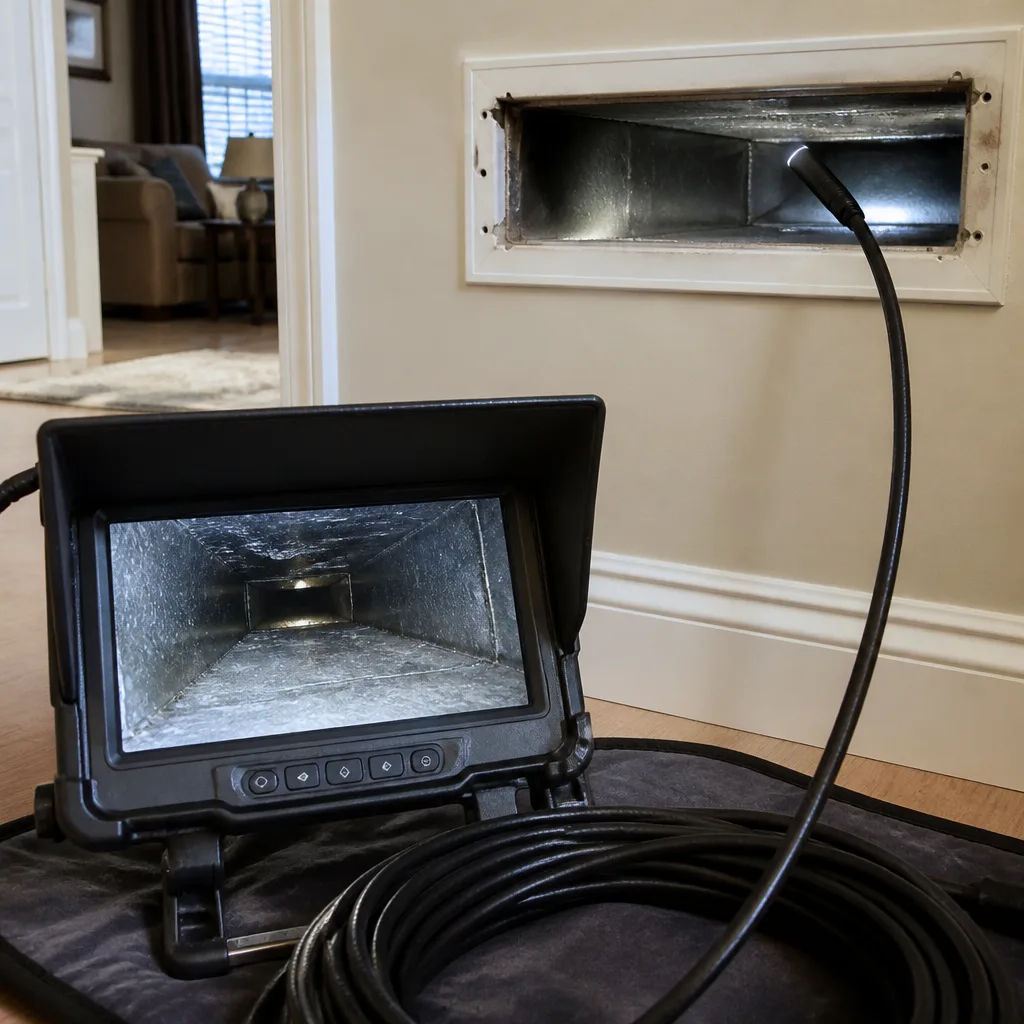 Camera inspection
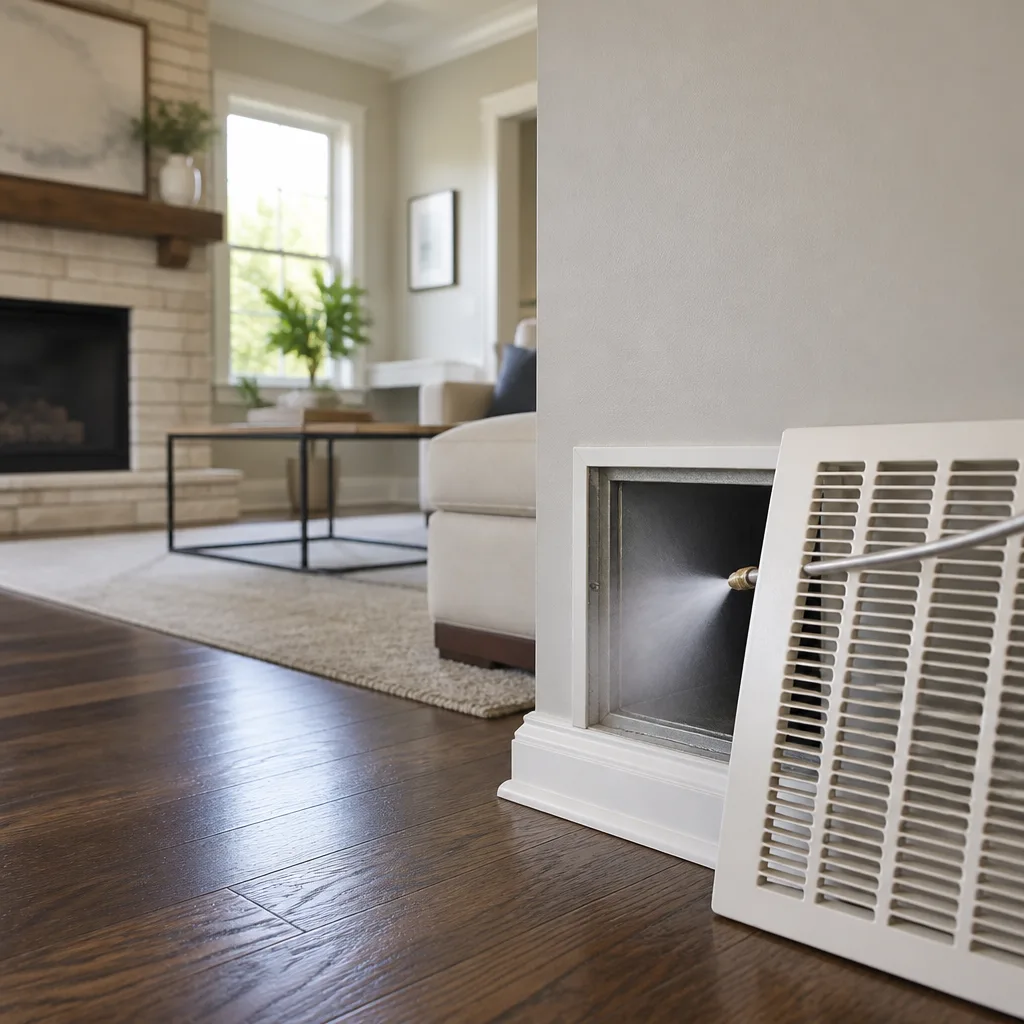 Sanitizing & deodorizing
Whole-system duct and dryer vent check with before-and-after photos - you see exactly what came out of your vents
That "$99 whole-house special" is a bait ad - the real number appears once they are in your hallway, or the "clean" is a shop-vac at the register. We photograph the inside of your ducts before and after instead.
Air Duct Repair Troubleshooting in Providence: Common Problems and How to Fix Them
The sound you hear is probably not your furnace. A rattle at startup usually gets blamed on the burner, and a cold back bedroom usually gets blamed on the insulation. Neither is the likely culprit. In most Providence homes we inspect, the symptoms point to the duct system itself: a joint that let go, a run of flex duct that collapsed, a seam that was never sealed properly in the first place. Your HVAC technician can tune the furnace all day and never find it, because the failure is hiding in a basement chase or an attic run where nobody looks. This guide walks you through how to trace those symptoms back to the ductwork, what you can check yourself, and where the job genuinely needs a trained eye and a pressure test.
Quick Answer
Most air duct problems in Providence trace back to four failures: disconnected joints, crushed or collapsed flex duct, physical breaches from pests or renovation work, and failed mastic seals at the seams. You can confirm a visible gap or a crushed run yourself with a flashlight and a short walk-through of the basement and attic. Finding a hidden leak that’s dumping conditioned air into a wall cavity takes negative-pressure diagnostics, which is where a professional with proper equipment comes in. Duct repair is almost always cheaper than the energy waste it causes, and it’s a job we handle alongside air duct cleaning rather than a separate trade you have to track down.
Styles & brands we work with
- Whole-home duct cleaning
- Dryer vent cleaning
- Camera inspection
- Sanitizing & deodorizing
Table of Contents
- Which Symptom Points to Which Duct Failure
- Why Providence Housing Stock Is Hard on Ductwork
- How to Do a Basic Visual Inspection
- What 1950s to 1970s Ductwork Looks Like When It Fails
- What You Can Confirm vs. What Needs Diagnostics
- Repair vs. Redesign: Telling the Difference
- The Duct Problem Homeowners Forget: The Dryer Vent
- Common Mistakes to Avoid
Which Symptom Points to Which Duct Failure
Homeowners describe the same handful of complaints over and over, and each one maps to a fairly predictable failure. Before you call anyone, listen to what your house is telling you. The symptom narrows the search before a single tool comes out of the case.
- One room never gets warm or cool while the rest is fine. This usually means the branch run serving that room is disconnected somewhere between the trunk and the register, or the flex duct has collapsed and pinched off airflow. It’s rarely a problem with the room’s insulation.
- A room smells musty when the system runs. A breach in the return side can pull damp basement or crawlspace air into the supply stream. In Providence’s older triple-deckers, this often traces to a return chase that shares space with unconditioned areas.
- Whistling or a high-pitched hiss at a register. That’s pressure escaping through a gap or a seam that’s opened up. The noise is air moving through a hole that shouldn’t be there, not a sign of strong airflow.
- Rattling at startup that fades. Loose sheet metal panels vibrating against each other, or a disconnected joint flapping as pressure builds. If the rattle stops after the blower settles, a joint is a strong suspect.
- Dust settling fast after a cleaning. A breach downstream of the filter pulls debris in. Cleaning a duct system without repairing the breach is mopping a floor with the tap still running.
- Higher energy bills with no change in habits. Conditioned air is leaving the system before it reaches a living space. The furnace is working harder to make up for air that’s going into a crawlspace or wall cavity.
None of these symptoms is a guarantee. Two failures often show up together, which is why a proper diagnosis matters more than a single guess. But matching the complaint to the likely defect is the first real step, and it’s one any homeowner can take before picking up the phone.
Why Providence Housing Stock Is Hard on Ductwork
Air ducts don’t fail in a vacuum. They fail in a specific building, and Providence’s building stock asks a lot of them. The city has a large share of triple-deckers, older single-families, and homes that have been renovated multiple times over decades. That mix creates three duct conditions you won’t find in newer construction.
Attic chases in triple-deckers. The third-floor unit of a triple-decker often runs its ducts through a cramped attic or knee-wall space. That space swings between extreme heat in summer and cold in winter, and the duct runs in it are frequently the original uninsulated sheet metal. Joints in those runs expand and contract hard through the seasons. Over time the connections loosen and separate.
Basement trunk lines. A lot of Providence basements hold the main trunk line, running low along the ceiling. That’s convenient for access, but it also puts the trunk where it takes abuse: a bumped joint during a move, a section crushed behind a furnace replacement, a run that was rerouted at some point and never sealed properly afterward.
Wall cavities and hidden runs. The hardest problems aren’t in the basement or the attic at all. They’re inside wall cavities, where a run was installed once and sealed with materials that have long since dried out and cracked. You can’t see these. You can only infer them from behavior and confirm them with proper testing.
This is why we don’t treat duct repair as a generic job. The repair approach differs depending on whether the problem is in a cold attic chase, a basement trunk, or a sealed cavity, and the diagnosis has to match the building. If you’re trying to understand the whole picture and not just one repair, our overview of duct cleaning in Providence lays out how cleaning, repair, and the surrounding system fit together.
How to Do a Basic Visual Inspection
You can check a meaningful portion of your own duct system with no special tools. A strong flashlight and careful eyes will find the obvious failures. The rule is simple: look, don’t touch anything that’s fragile or connected to the furnace while it’s running. Turn the system off first.
- Start at the furnace or air handler. Look at the plenum where the ductwork connects to the unit. Check for gaps at the seams, tape that’s peeling off, or mastic that’s cracked and falling away. This is one of the most common leak points in any home.
- Follow the trunk line. Walk the main run through the basement or attic. Check every branch takeoff where a smaller duct leaves the trunk. Look for daylight, black soot marks (a sign air has been escaping and pulling dust), or visibly separated fittings.
- Look at the flex duct runs. Flex duct should be smooth and gently curved. If you see a run that’s crushed flat, kinked sharply at a corner, or sagging heavily between supports, that run has lost airflow capacity regardless of whether it’s leaking.
- Check the register boots. Where the duct meets the register in the floor or wall, look for gaps around the boot. In older Providence homes, these gaps are often wide open to the wall cavity.
- Note the tape and sealant. Old cloth-backed duct tape that’s dried out, cracked, or hanging loose is a failing seal. So is mastic that has turned brittle and pulled away from a seam.
Write down what you find and where. A list of locations makes the conversation with a technician faster and more useful, and it tells you whether the problem is one localized joint or a pattern across the whole system. Take photos while you’re at it. A technician can tell a lot from a photo of a failing joint before arriving on site.
What you’re not doing here is crawling into tight cavities, removing panels that seal the system, or probing anything near the blower. Those steps need proper containment equipment and a clear understanding of what’s behind the panel. Our Providence service overview covers what a full professional inspection involves.
What 1950s to 1970s Ductwork Looks Like When It Fails
Older Providence homes have some of the most predictable duct failures in the city, and the reason is age and material, not mystery. The sheet metal and joint methods used in mid-century construction behave in specific ways as they age.
Sheet metal ducts from this era were typically assembled with slip joints, drive cleats, and screws, then sealed at the seams with whatever the era used: sometimes mastic, sometimes cloth-backed tape, sometimes simply friction and hope. The metal itself is often still sound. What fails is the connection between sections.
What a failing joint actually looks like:
- A visible gap running along the length of a seam, often wider at the ends where the metal has shifted.
- Old tape turned black, brittle, and hanging in strips. The adhesive is long gone.
- Dust streaks radiating from a seam. Air escaping at pressure carries dust with it, and the streaks map the leak for you.
- Screws that have backed out or torn through the metal, leaving the joint loose enough to move.
- Mastic that has cracked into a hard, glazed sheet and separated from the metal entirely.
Here’s the part that catches homeowners off guard. A joint can look intact from the side you can see and be fully open on the side facing the wall or the joist. That’s why a flashlight-and-listen approach isn’t enough on older systems: the leak is often one plane away from the visible surface. This is exactly the situation a pressure test resolves, and it’s why we treat visible inspection and diagnostics as two separate tools rather than one.
If your home is in that mid-century range and the ductwork has never been assessed, a single diagnosis is worth more than a dozen guesses. It gives you a real picture of what’s failing and what can be repaired versus what needs a longer conversation.
What You Can Confirm vs. What Needs Diagnostics
This is the line that matters most in troubleshooting, because it separates a homeowner’s job from a technician’s job. Being clear about which side of it you’re on saves both money and time.
Problems you can confirm yourself with a flashlight:
- A visible gap at a seam or joint.
- A crushed, kinked, or collapsed flex duct run.
- Old tape that’s peeled and hanging.
- Mastic that’s cracked and separated.
- A loose register boot with obvious gaps around it.
These are open-and-shut. You’ve seen the defect. A repair plan can be built around them, and a technician arriving with photos of the specific failure moves faster.
Problems that need negative-pressure diagnostics:
- A leak inside a wall cavity or closed chase that shows up only through temperature or pressure symptoms.
- A partial disconnection inside an insulated flex run, where the outer jacket looks intact but the inner core is separated.
- A systemic issue where the whole system is underperforming but no single visible gap explains it.
- Multiple small leaks that add up to a large loss but are individually too small to spot.
These require sealing off sections of the system and measuring how it holds pressure. That test finds where the air is actually going, not where you assume it’s going. We run that test with professional equipment, including Nikro negative-pressure machines and HEPA containment from Abatement Technologies, so the diagnosis and the repair happen with a clear picture of the whole system.
The practical takeaway: do the visual inspection first. If you find obvious failures, you’ve already got your answer. If you find nothing visible but the symptoms persist, stop guessing and get a pressure test.
Repair vs. Redesign: Telling the Difference
Not every duct problem should be repaired. Some should be redesigned, and the honest ones in this trade will tell you the difference before you sign anything. A repair patches a working system. A redesign replaces a system that wasn’t built right to begin with.
Repair is the right call when:
- The duct layout is fundamentally sound and the failures are localized.
- One or two joints have separated in an otherwise intact trunk line.
- A crushed run needs to be replaced with a properly supported section.
- Seams need proper mastic re-sealing.
Redesign is worth considering when:
- The system has been added onto piecemeal over decades, with runs that fight each other.
- A room has never received adequate airflow, even when the system was new, which points to a sizing problem, not a leak.
- The trunk is undersized for the number of registers served.
- Multiple rooms share a single poorly planned run, and every “fix” so far has been another band-aid.
Here’s a hard truth. A duct tape patch over a failing joint is not a repair. It’s a temporary stopgap that fails again within a season, and it costs you a call-out each time. A band-aid on a system that needs redesign is money spent repeatedly on the same problem with no end in sight. If the system has never worked well, ask the honest question before writing a check: has this system ever performed, or are we just patching symptoms?
We can tell you which one your system needs because we’re equipped to diagnose it properly. Professional-grade equipment, not consumer shortcuts, is what makes that call accurate. Rotobrush contact-cleaning systems and pressure diagnostics reveal what a quick look misses, and that’s the difference between a repair that holds and a repair that comes back.
The Duct Problem Homeowners Forget: The Dryer Vent
Not all ductwork in a Providence home moves heated air through the house. Some of it moves hot, lint-laden air out of the dryer, and that duct is a fire hazard waiting to be cleared. A clogged or damaged dryer vent traps lint, and lint ignites. This isn’t an upsell or a bonus service: it’s a safety concern that gets skipped because most duct companies only look at the HVAC system.
The signs of a failing dryer vent are similar to the signs of a failing HVAC duct: reduced performance, heat where it shouldn’t be, and a buildup you can’t see. If your clothes take two cycles to dry, the dryer gets hot on the outside, or the vent flap barely moves, the vent needs attention.
We handle dryer vent cleaning alongside duct service because we’re already in the spaces where those vents run, and because the risk is real. A defective dryer vent is one of the most common cause of house fires tied to appliances, and a clean, intact vent is the fix. That’s a safety service, and we treat it that way.
If you live in one of Providence’s older homes, check the vent run. A long, winding run or a run with multiple 90-degree elbows builds up lint faster than a short, straight one, and older homes often have exactly that kind of run. It’s worth having it assessed rather than waiting for a symptom to become an emergency.
Common Mistakes to Avoid
- Patting down sealant with duct tape and calling it fixed. Cloth-backed tape dries out and fails within a season. Proper mastic is what holds a joint long term, and anything less is a temporary patch that costs more in repeat visits than the correct fix would have cost once.
- Cleaning the ducts before finding the breach. Cleaning a system with an open gap pulls new debris straight into the duct. In a Providence triple-decker with a return chase open to a crawlspace, this is especially common. Clean only after the breach is sealed.
- Assuming a cold room is an insulation problem. Insulation gets blamed first and ductwork gets checked last. A disconnected branch run looks exactly like a poorly insulated room from the inside. Check the duct before you spend on insulation.
- Crawling into closed chases to look without containment ready. Opening a sealed cavity can release dust and debris into living space if it isn’t contained. Proper HEPA containment isn’t optional in an occupied home.
- Treating a collapsed flex duct as if it will straighten out. A crushed run doesn’t recover. It stays restricted and keeps robbing airflow from every register downstream of it. It needs replacing, not propping up.
- Ignoring the dryer vent because the HVAC system is fine. The two systems share a home but not a function. A healthy HVAC system says nothing about whether the dryer vent is safe, and the vent is a fire risk when it’s neglected.
- Getting a duct cleaning quote from a company that can’t repair what it finds. If the technician can only clean, every problem looks like a cleaning job. Make sure whoever inspects your system can actually fix the defect, not just report it and hand the job to someone else.
The pattern behind most of these comes down to one habit: treating a symptom as the answer. A quick fix on a visible problem without checking whether the system has a deeper one usually costs more in the long run than a proper diagnosis would have cost upfront.
See the difference
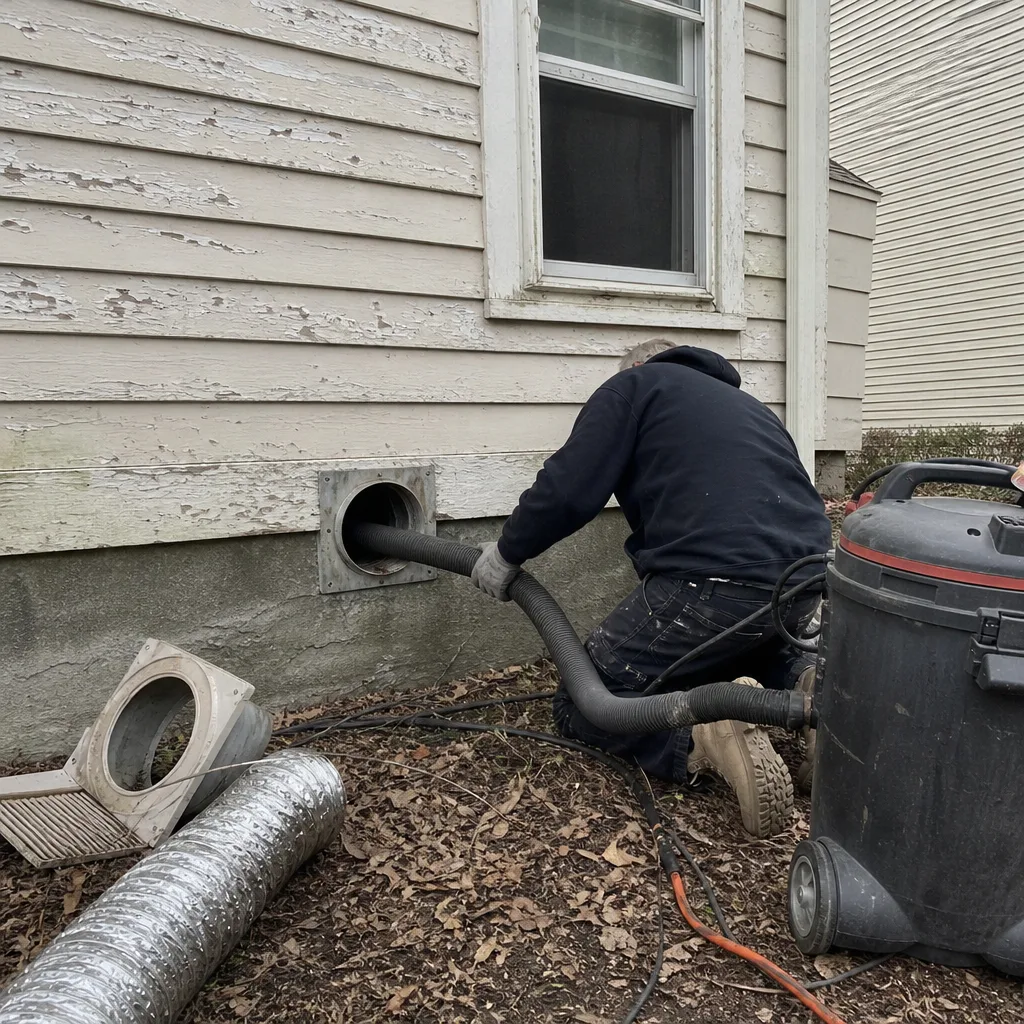 Before
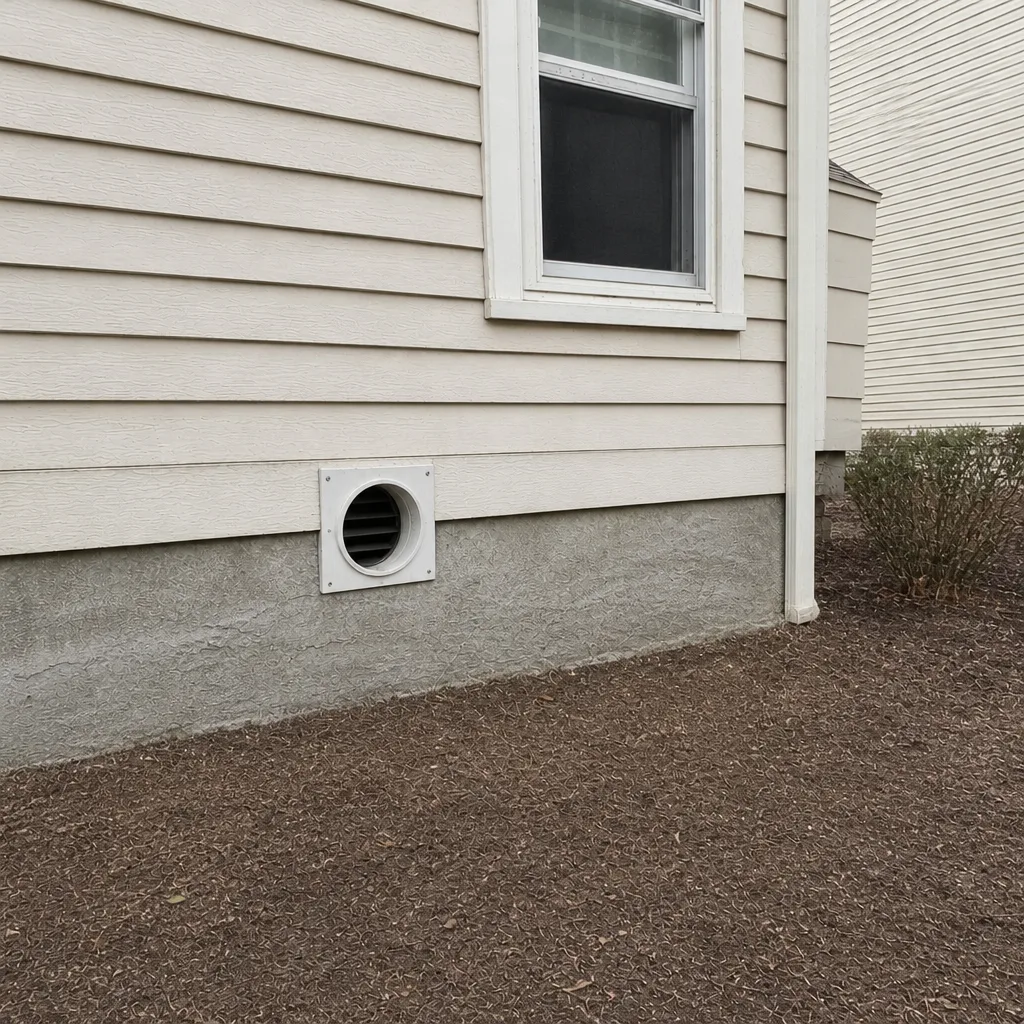 After
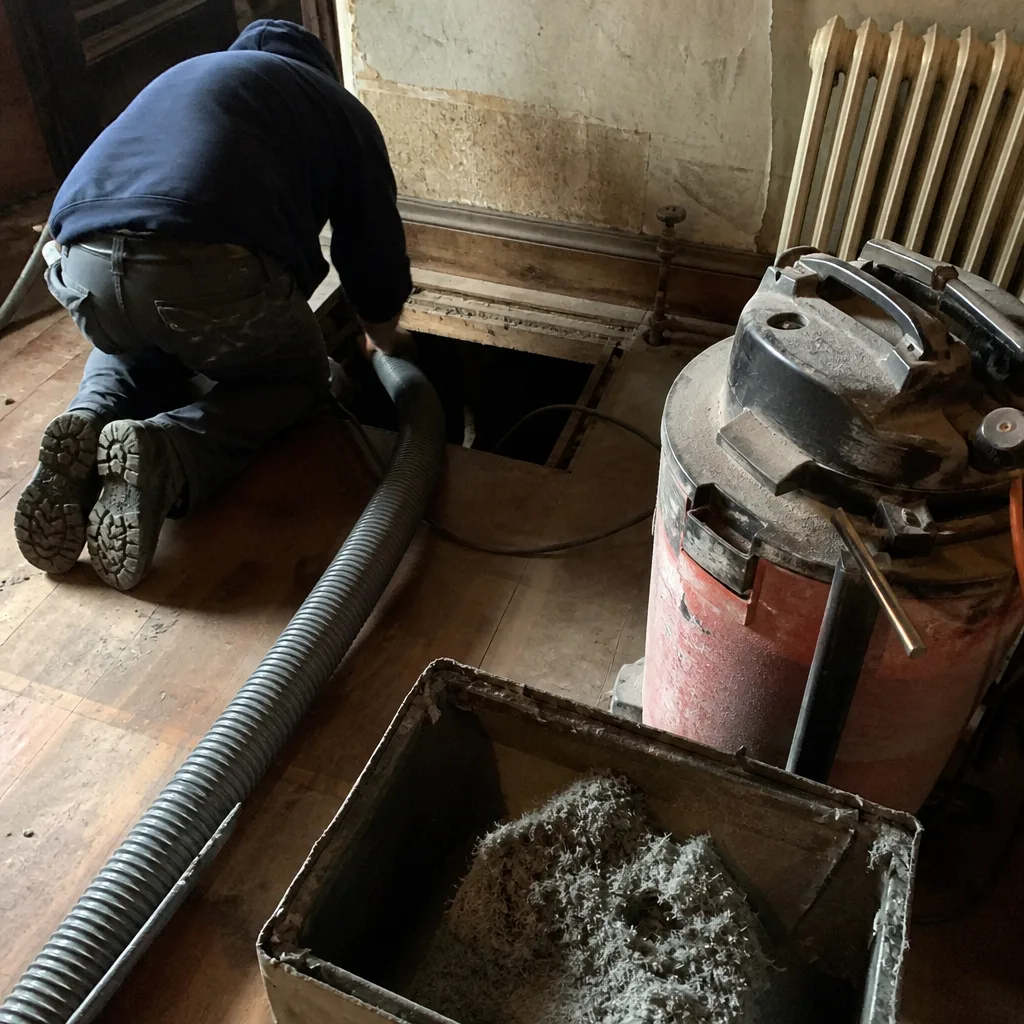 Before
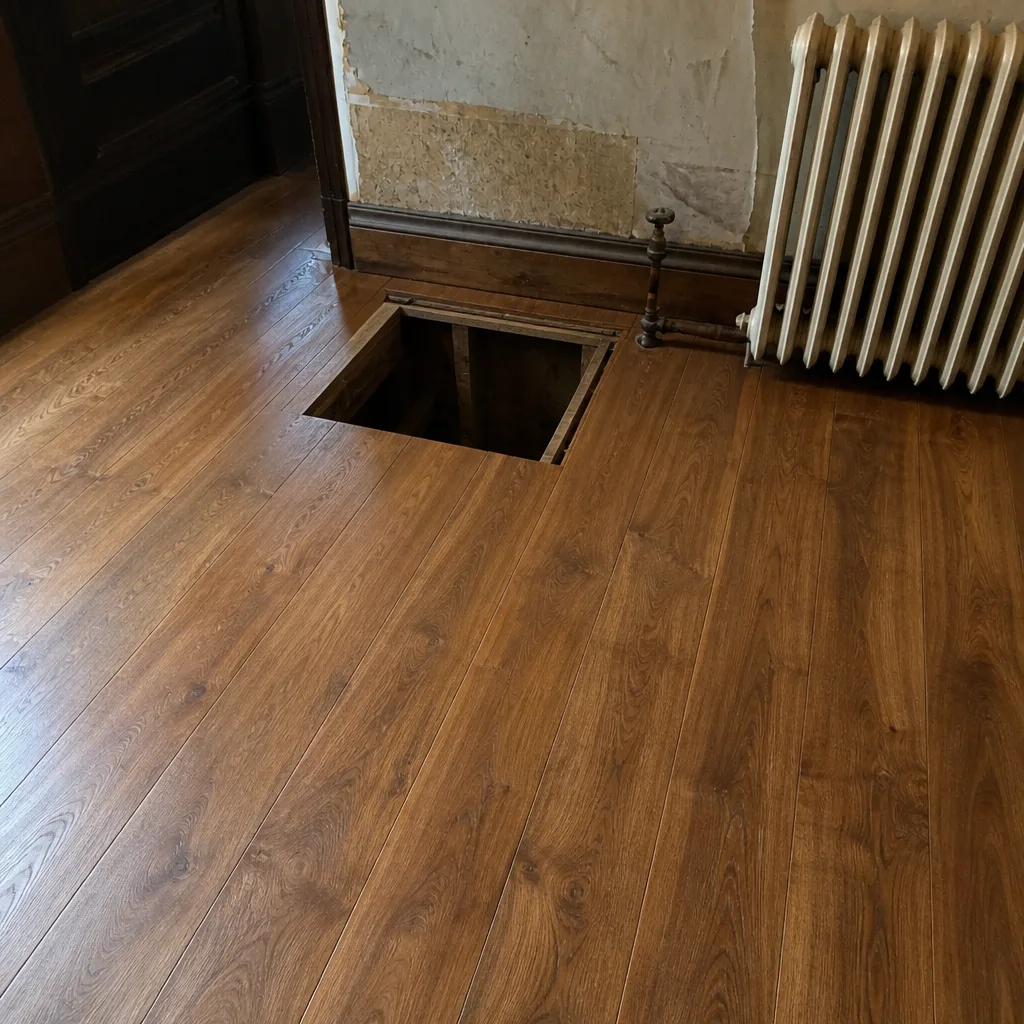 After
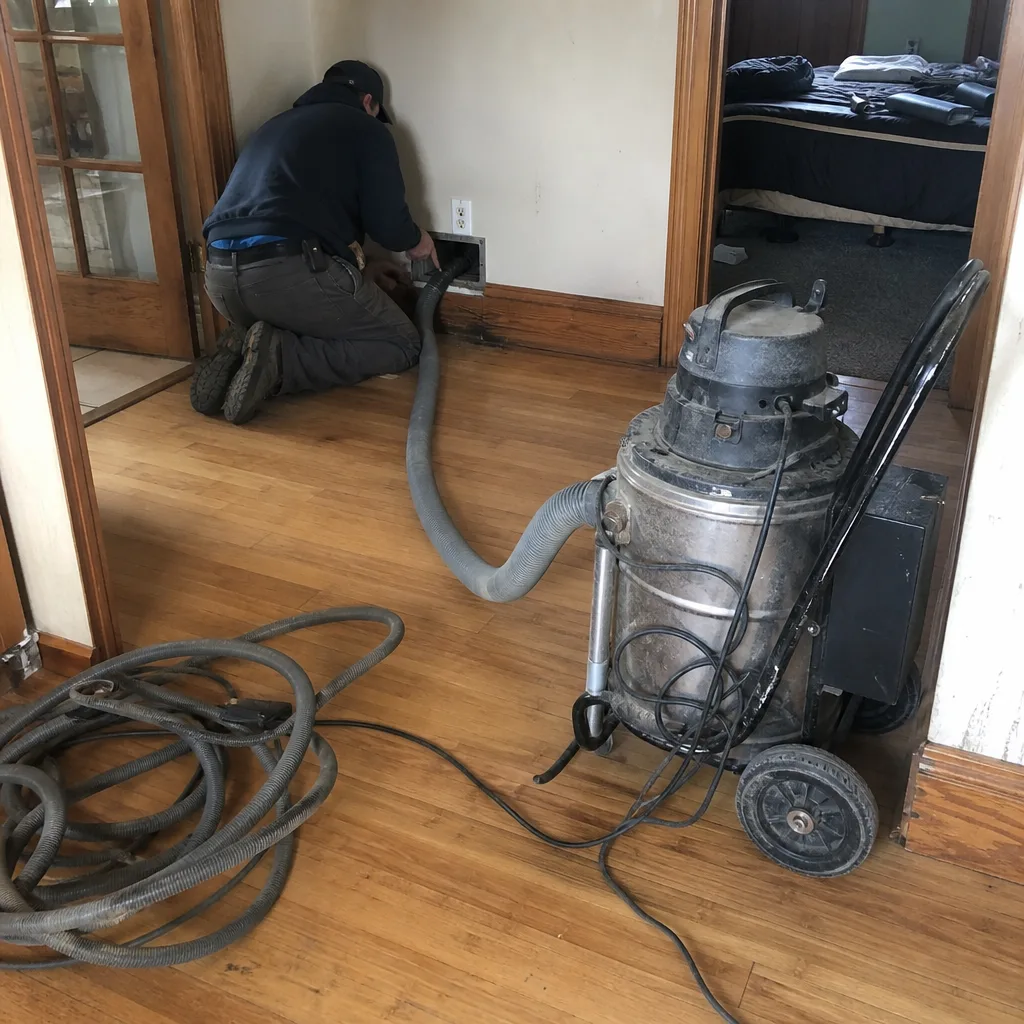 Before
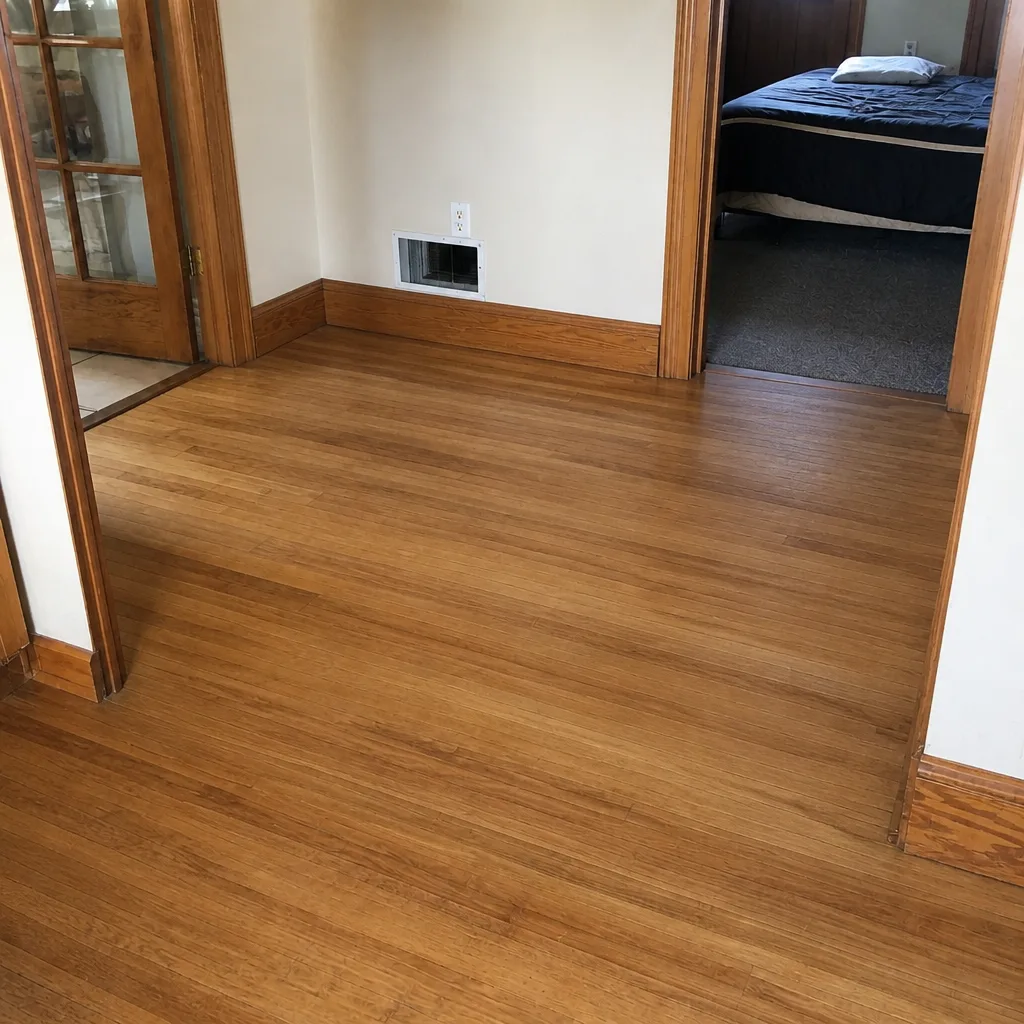 After
When to Call a Professional
Call a professional when the symptoms persist after a visual inspection turned up nothing, when the problem sits inside a wall cavity or a sealed chase, or when the same “repaired” joint keeps failing. Call when a flex run is crushed or a trunk line has separated and you’re not confident you can seal it correctly. Call if your home is a Providence mid-century build and the ductwork has never been assessed. And call if the dryer vent is slow, hot, or blocked, because that’s a safety matter, not a home project.
Duct Cleaning Providence offers free estimates in Providence. Our technicians have up to 13 years of experience, and we use professional-grade equipment from Rotobrush, Nikro, and Abatement Technologies to diagnose and repair system problems rather than only clean around them. We can also recommend and work with filtration products from Honeywell and Aprilaire when the system would benefit from better filtration going forward. Call (844) 542-8739. We answer 24/7. Fast dispatch from 7am to 7pm, Sunday through Friday.
Frequently Asked Questions
If the failure is a visible, localized defect like a separated joint or a crushed run on an otherwise well-designed system, it’s a repair. If the problem is systemic, with rooms that have never received adequate airflow or a system that’s been added onto piecemeal over decades, it’s a redesign conversation. A pressure test tells you which one you’re facing, and any honest diagnosis starts there rather than with a guess.
It can, and the waste is typically invisible because the escaping air leaves through a crawlspace or a wall cavity where no one notices. That conditioned air is paid for and then lost before it reaches a living space. The furnace runs longer to make up the difference, which shows up as higher bills without an obvious cause. Finding the disconnection is the first step; sealing it is what stops the loss.
Mid-century ductwork is a common source of joint failures, mostly at seams and connections sealed with materials that have dried out over the decades. The sheet metal is often still sound. The failures concentrate at the joints. A visual inspection plus a pressure test tells you exactly where the issues are, and it’s the only real way to know whether your system has any at all.
Foil tape holds better than cloth-backed duct tape, but it isn’t the same as proper mastic sealing, and a do-it-yourself patch on a joint you can reach may miss the failure you can’t. The more important problem is that reachable gaps are usually the smaller part of the issue, while the real leak hides one plane away. A proper repair after a proper diagnosis is what makes the seal last.
In most cases it’s the branch duct serving that room, not the room itself. The run may be disconnected at the trunk, crushed somewhere along its length, or restricted by a failing joint. Hot rooms get blamed on the thermostat and the insulation first, but a duct defect is usually the actual cause. A technician can confirm it in minutes with the right equipment.
After the repair, always. Cleaning a system with an open breach pulls fresh debris into the ductwork, and a return side open to a crawlspace makes that worse. Seal the breach first, then clean, so the system is whole before it’s cleaned. That order matters.
If you’re unsure which order applies to your situation, call (844) 542-8739 for an exact quote. Estimates are free.
The Bottom Line
Most duct problems announce themselves through symptoms homeowners misread as HVAC failures: rattles blamed on the furnace, cold rooms blamed on insulation, high bills blamed on the thermostat. The fix starts with tracing symptoms back to the duct system and knowing what you can confirm visually versus what needs a pressure test. Confirm the visible failures yourself. Bring in professional diagnostics for the hidden ones. Don’t clean a system with an open breach, and don’t patch a joint that needs replacing. If your system has never really worked, ask the honest question before writing a check. Duct cleaning, duct repair, and dryer vent cleaning are all part of a healthy home, and getting the diagnosis right is what makes the rest of it work.
Call (844) 542-8739 for a free estimate. We answer 24/7. Fast dispatch from 7am to 7pm, Sunday through Friday. Licensed, insured, and equipped with professional-grade tools from Rotobrush, Nikro, and Abatement Technologies, with filtration recommendations from Honeywell and Aprilaire when your system would benefit.
Written by the team at Duct Cleaning Providence.